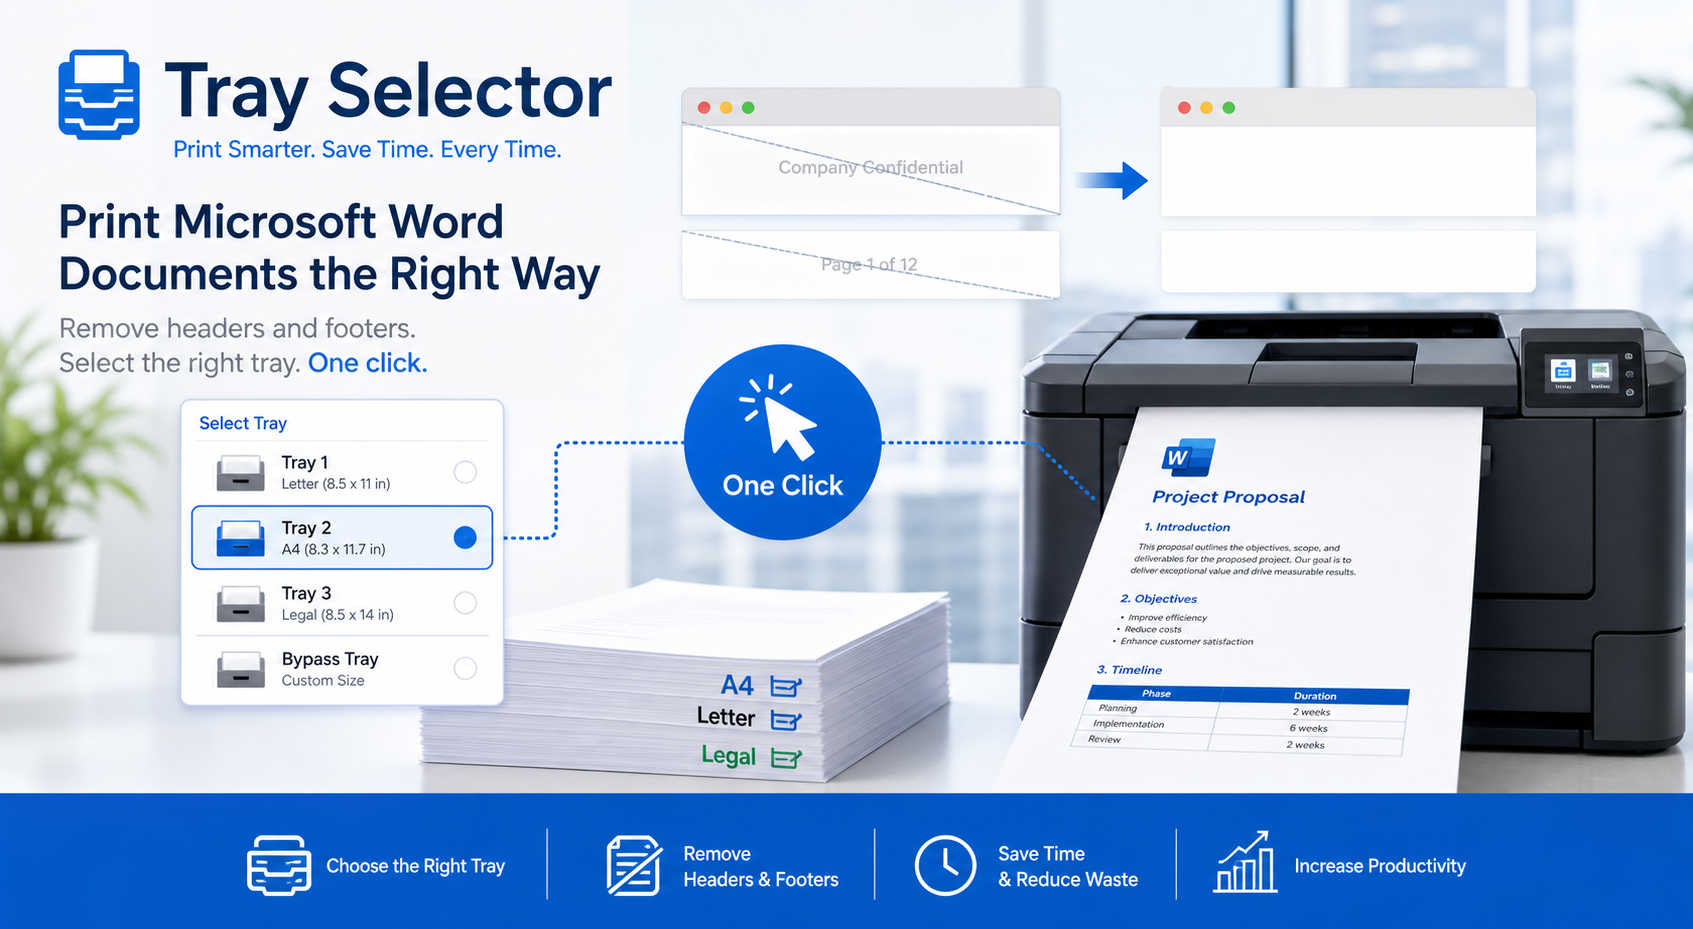
Print to three different trays from Word using Tray Selector
📅 ✍️ By Tim Kempster
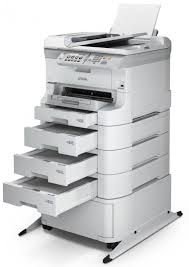
The Problem
I'm sometimes asked if it's possible to print to 3 different trays from a document with three pages, with each page going to a different tray in a single click. This is a common scenario in legal offices where different pages need different paper types - perhaps letterhead for page 1, plain paper for page 2, and colored paper for page 3.
With Tray Selector this is not only possible but quite easy. Let me show you how.
Setting up a test
First, let's create a normal 3-page document in Word and put at the top of each page "Page 1", "Page 2", "Page 3" respectively. We want to create a button with Tray Selector that prints page 1 to tray 1, page 2 to tray 2, and page 3 to tray 3.
Creating Three Buttons
Since Version 2.0.0 it has been possible to specify a page range for each button. This makes setting up multi-tray printing much simpler than before. Here's how to set it up:
Button One - First Page
Create a button called "One" that:
- Prints only page 1
- Directs output to Tray 1
- Specifies the page range as "1"
Button Two - Second Page
Create a button called "Two" that:
- Prints only page 2
- Directs output to Tray 2
- Specifies the page range as "2"
Button Three - Third Page
Create a button called "Three" that:
- Prints only page 3
- Directs output to Tray 3
- Specifies the page range as "3"
Chaining the Buttons Together
Now comes the clever part - we need to chain these buttons together so clicking the first button automatically triggers all three in sequence. This uses the button chaining feature we've discussed in other tutorials.
We now chain the buttons. To do this, click on the macros button within the settings for the first profile button "One". In the dialog box that appears, go to the field for "Macros to run after printing" and put in the built-in macro:
tsclickbutton,2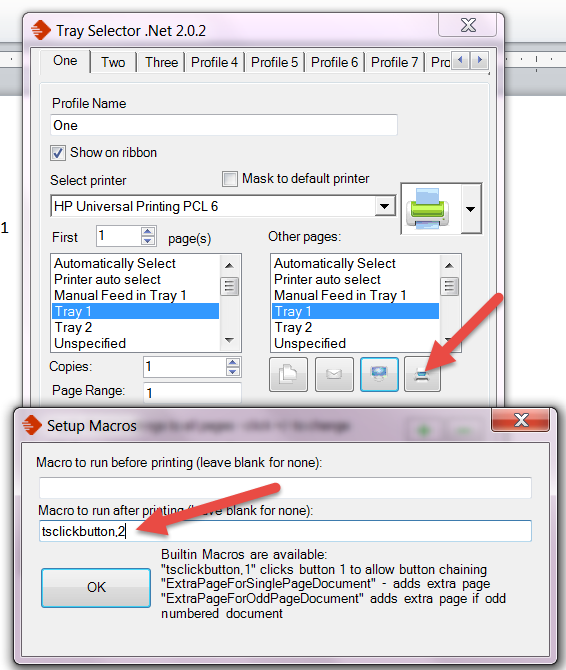
This tells button "One" to automatically click button "Two" (which is button number 2, since numbering starts at 0) after it finishes printing.
Now do the same for button "Two" - in its "Macros to run after printing" field, enter:
tsclickbutton,3This tells button "Two" to automatically click button "Three" after it completes.
Optional: Hiding Buttons 2 and 3
Since buttons 2 and 3 are only called automatically by the chain, you might not want them cluttering your ribbon bar. Tray Selector allows you to hide buttons from the ribbon while still keeping them available for chaining:
- Go to the settings for button "Two"
- Find the option to hide the button from the toolbar
- Enable this option
- Repeat for button "Three"
This gives you a clean ribbon bar with just button "One" visible, while still maintaining the full three-button chain functionality.
The Result: One-Click, Three-Tray Printing
With this configuration complete, here's what happens when you click button "One":
- Page 1 prints to Tray 1 (e.g., letterhead)
- Button Two is automatically triggered
- Page 2 prints to Tray 2 (e.g., plain paper)
- Button Three is automatically triggered
- Page 3 prints to Tray 3 (e.g., colored paper)
All from a single button click! This is incredibly powerful for standardized documents that always follow the same structure.
Extending the Concept
The same approach works for documents with more pages and more trays:
- Four-page documents: Create four buttons, chain them together, and print to four different trays
- Complex page ranges: Instead of single pages, you could print pages 1-5 from one tray, 6-10 from another, and 11+ from a third
- Mixed requirements: Combine different printers, different trays, different copies - all in one automated workflow
Real-World Use Cases
Legal Documents
Print cover letters on letterhead, contracts on plain paper, and signature pages on colored stock - all automatically formatted and ready to go.
Financial Reports
Executive summary on premium paper, detailed tables on standard stock, and appendices on recycled paper - organized and professional.
Marketing Materials
Front page on glossy stock, body content on matte paper, response cards on cardstock - perfectly coordinated materials.
Academic Papers
Title page on heavy weight, main content on standard paper, bibliography on colored paper for easy reference - streamlined production.
Tips for Success
- Label your trays clearly: Make sure everyone knows which tray contains which paper type
- Test with short documents: Before printing important 100-page documents, test with a 3-page sample
- Name your buttons descriptively: "Legal Package" is more meaningful than "Button One"
- Document your setup: Keep notes about which button chains to which, especially for complex workflows
- Train your team: Make sure everyone knows which button to use for which document type
Troubleshooting
If your three-tray setup isn't working as expected:
- Check page ranges: Ensure each button is set to print only its designated pages
- Verify tray assignments: Confirm each button points to the correct tray
- Review chain commands: Make sure the macro syntax is correct (tsclickbutton,X)
- Test individually: Click each button separately to ensure it works on its own
- Check button numbers: Remember that button numbering starts at 0, not 1
Why This Matters
This three-tray printing capability represents a significant productivity improvement:
- Time savings: What once took multiple manual operations now takes one click
- Consistency: Every document prints the same way, every time
- Reduced errors: No more accidentally printing the wrong pages to the wrong trays
- Professional results: Documents always use the correct paper types in the right places
- Simplified workflow: Staff can focus on content, not printing logistics
Get Started
Three-tray printing is available in all current versions of Tray Selector (version 2.0.0+). The combination of page range specification and button chaining makes this powerful feature easy to set up and use.
Need help configuring three-tray printing for your documents? Contact our support team and we'll walk you through the setup process.
Ready to try it out? Download Tray Selector and start your free 7-day trial today!